What are some DIY car maintenance techniques you can do at home?
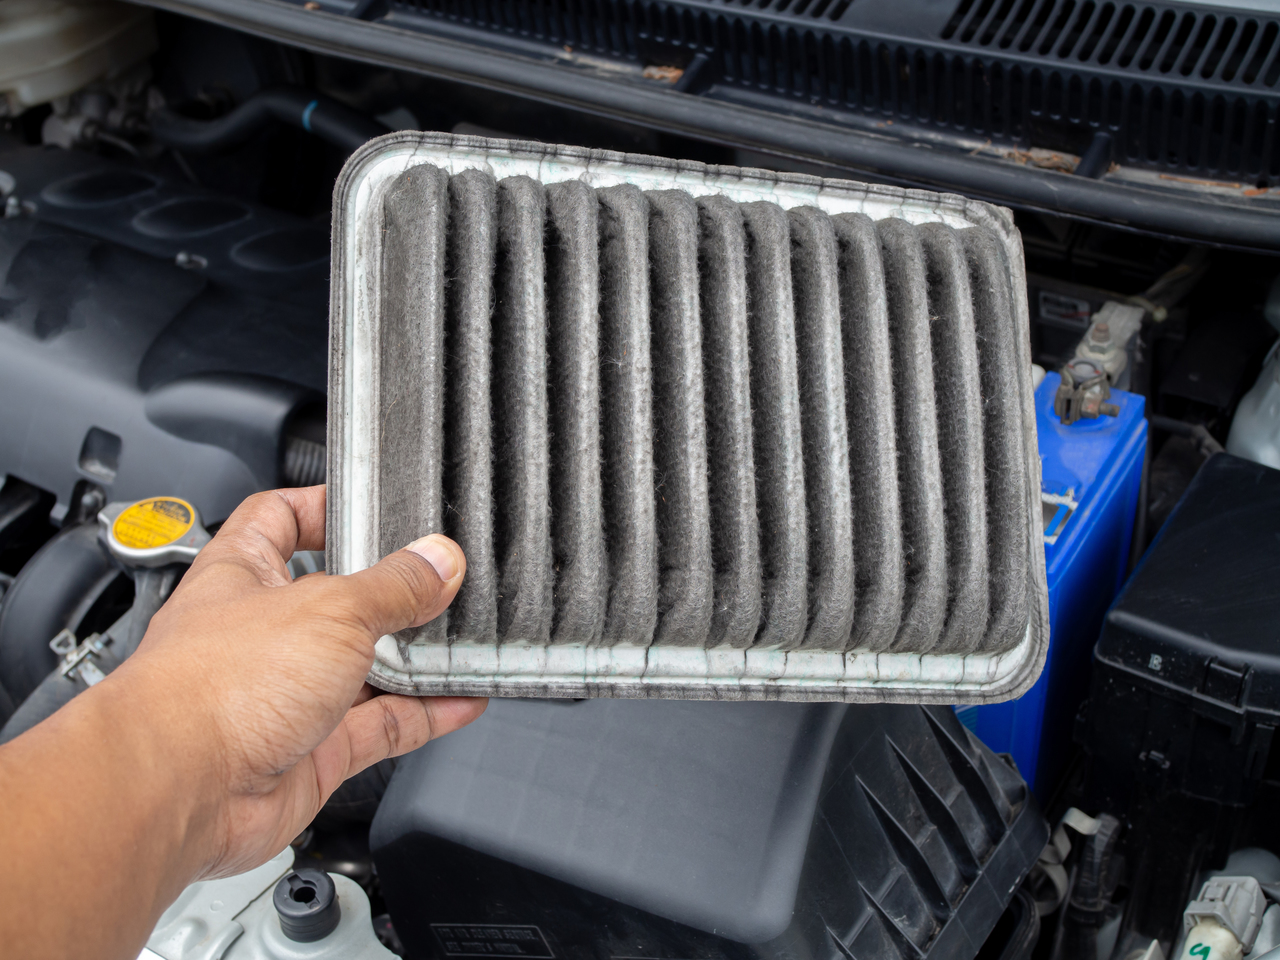
- Air filter replacement
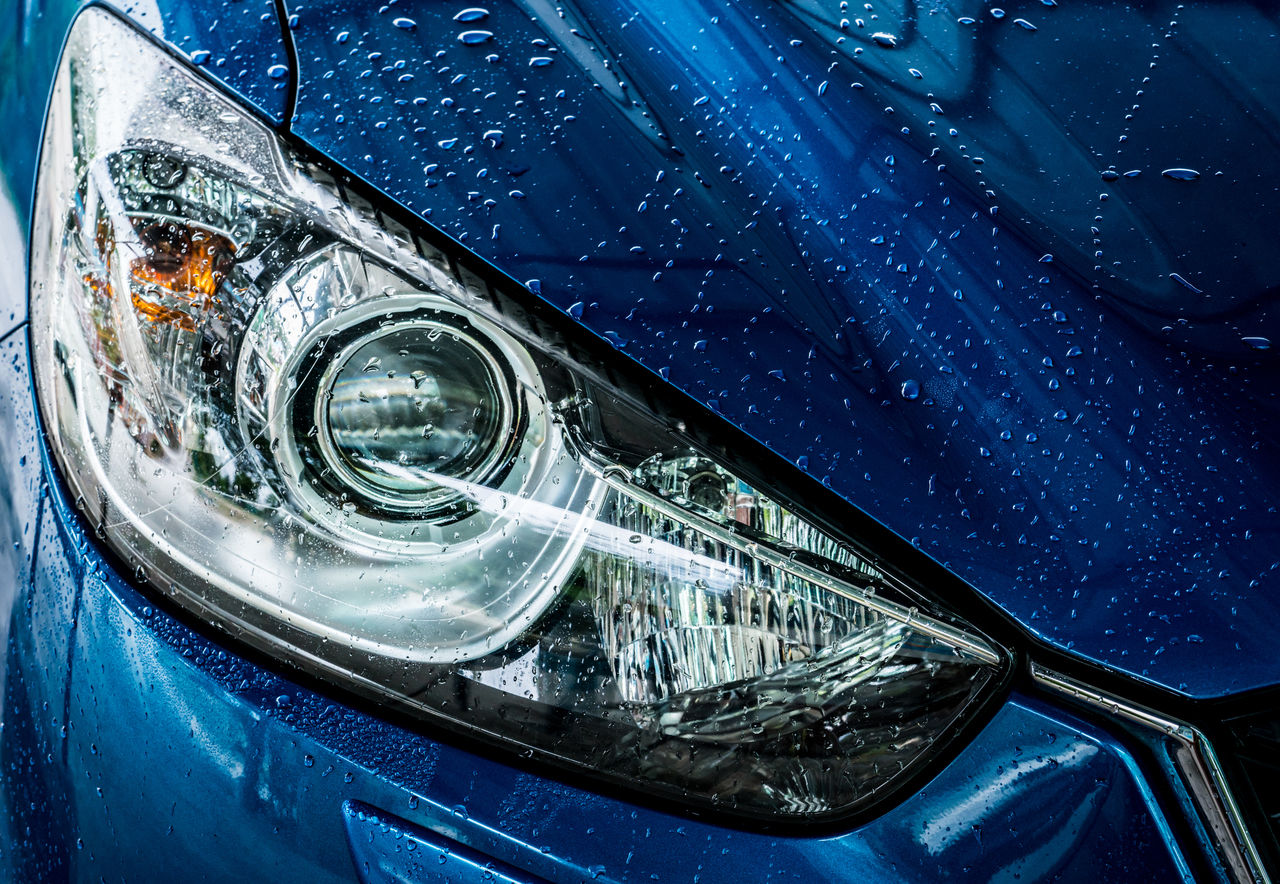
- Clean the headlights
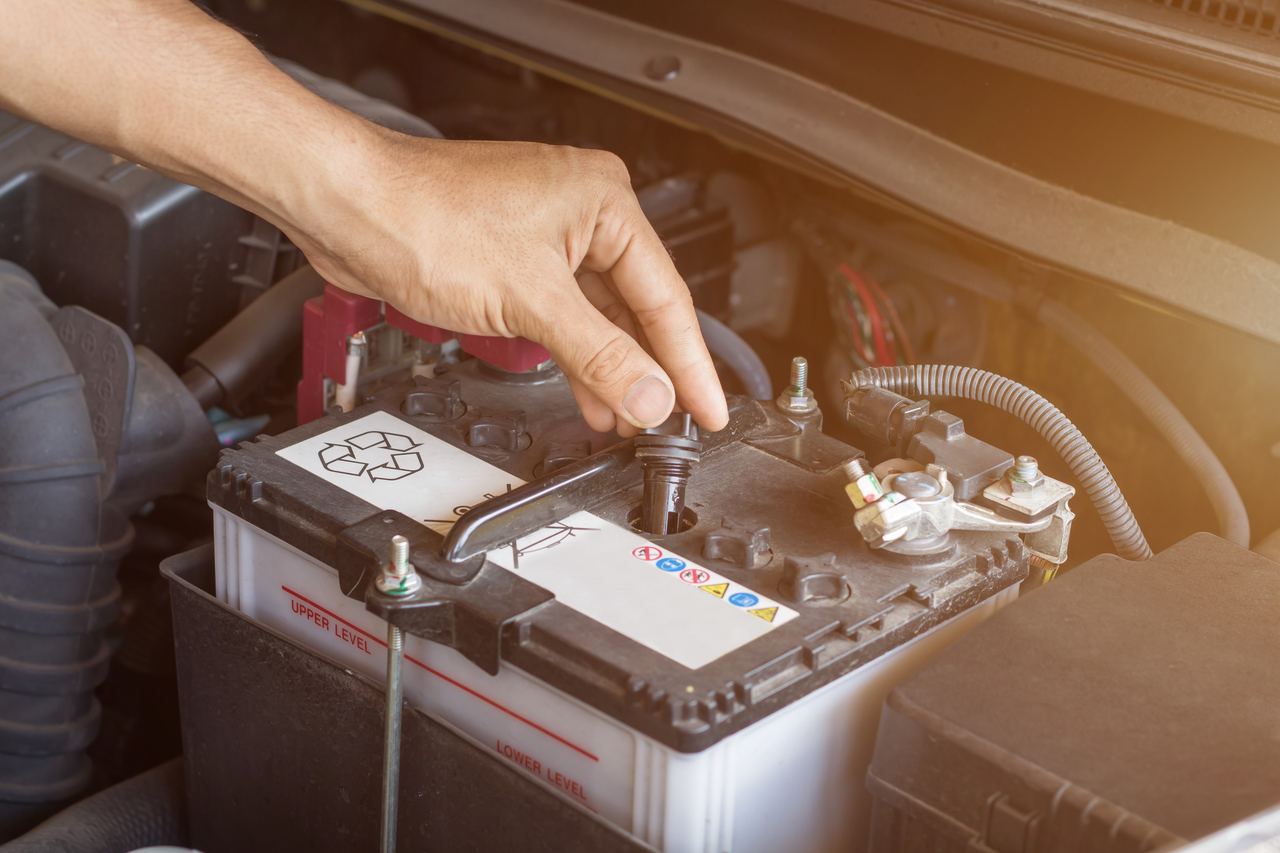
- Battery maintenance
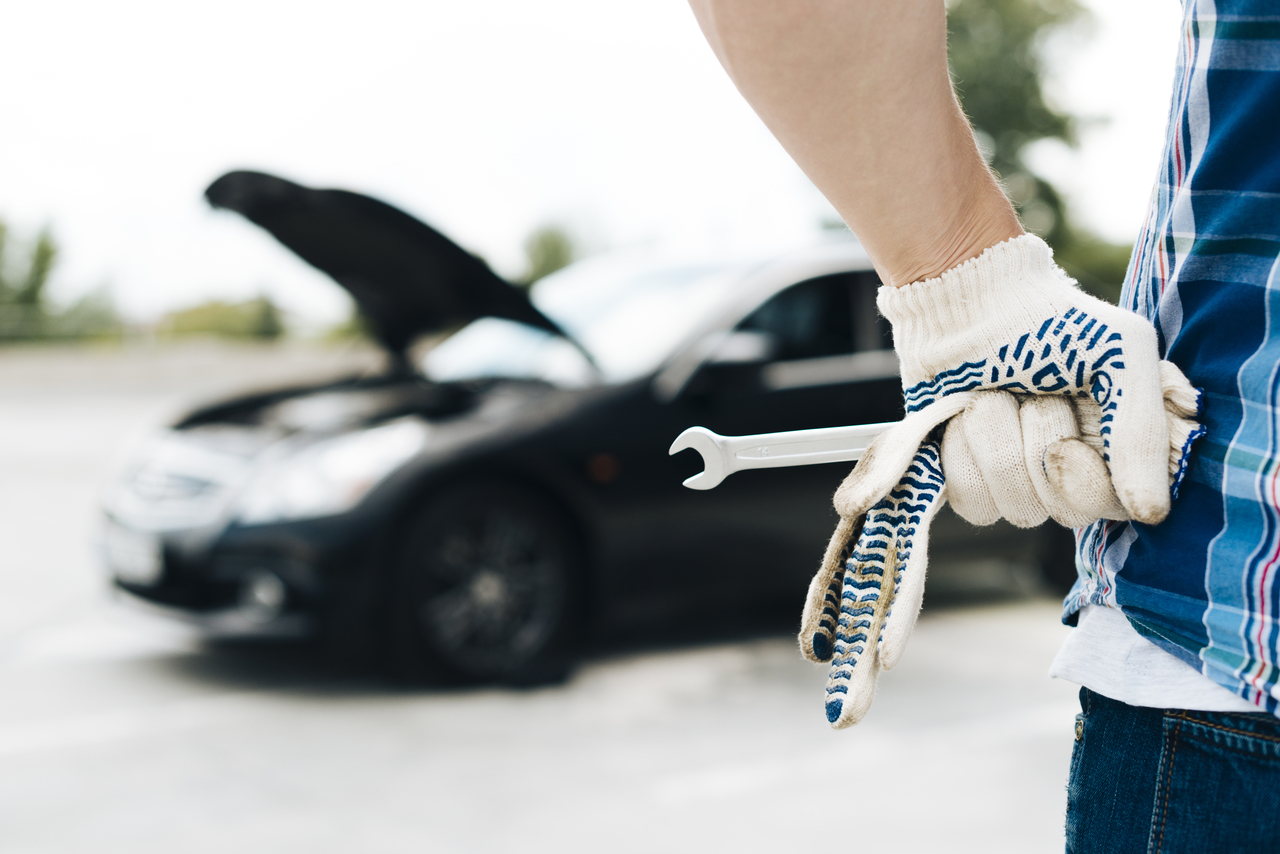
Car maintenance is an important part of good vehicle ownership. However, doing it is not cheap, especially if you get your car serviced at the dealership. The good news here is that there are some DIY car maintenance processes you can do at home that can help you save money at the cost of a small portion of your time and some elbow grease.
Air filter replacement

One of the easiest maintenance jobs you can do on your own is changing the air filter. The common practice is to change it annually, but you should check your owner’s manual to be sure. A clogged air filter will add stress to your car’s air conditioning system and will make it less efficient.
To change it, you are going to need a new air filter and a Philipps screwdriver. Refer to the owner’s manual or ask the car dealer for the specific kind of air filter you will need. Most, if not all, cars have their air filters located behind the glove box. Use your screwdriver to remove its hinges and then wiggle it free. Slide out the filter tray and replace the old air filter with the new one. Make sure to take note of the orientation of the old filter and install its replacement in the same direction. Finally, put everything back in the same way you removed it. This process should take no longer than 30 minutes.
Clean the headlights

UV rays from the sun and particles in the air contribute to the wear and tear that your headlights experience. Wear and tear usually refers to the removal of its protective coating and the oxidation of the surface — resulting in a ‘foggy’ or ‘cloudy’ headlight that has a significantly reduced projection of light. If you value your safety and the safety of people on the road, having cloudy headlights is something you would do well to avoid, or at the very least something you should rectify on your own.
To clean your headlights and bring it back to near-factory condition, you are going to need a headlight restoration kit and some elbow grease. All headlight restoration kits include sandpaper and a polishing solution. However, more expensive kits can also come with a clear coat remover and a new UV-blocking coating.
To begin the process, mask the surrounding area around the headlights with tape to avoid any sort of paint damage. Next, use the clear coat remover (if available) to soften any remaining coating, then wipe it clean. Wet-sand the surface of the headlights, working your way from the roughest sandpaper to the finest. Make sure to keep the surface wet during the sanding process. Once the headlights are clear, apply the new clear coat and let it dry for 4 to 6 hours before driving.
Battery maintenance

Your car’s battery is important, which means maintaining it is also crucial if you want to have a consistently smooth driving experience. DIY battery maintenance means cleaning it and making it free from performance-hampering corrosion. To do this, you will need some wrenches, a cleaning solution, a wire brush, and rag/s. There are many available cleaning agents in the market, but if you want to keep it truly DIY, then make your own by mixing baking soda and water.
Open the hood and locate the battery terminals. Make sure that your car hasn’t been used for a couple of hours to avoid burning yourself. Remove the battery terminals, but always remove the negative cable first. Clean the posts by applying a generous amount of the cleaning agent and brushing them firmly with the brush. Once the residue and corrosion are scrubbed away, rinse with some water and dry using the rag.
Key Takeaway
Now that you know some of the maintenance jobs and processes you can do on your own, you are better prepared to be a more prudent car owner. There is nothing wrong with leaving maintenance work to the professionals, but if you are feeling frugal then doing DIY car maintenance should be helpful.

